Do you have a severely damaged or decayed tooth, or have you recently undergone a root canal? If so, your oral healthcare provider is likely going to want to place a customized dental crown to safeguard your smile.
However, your dentist or prosthodontist must prepare your tooth properly for your restoration to fit correctly without looking overly bulky or throwing off your bite alignment. If you’re unsure what to expect from dental crown preparation, continue reading to learn more about what usually occurs during these appointments!
Step #1: Applying Anesthetic
Many people worry that the process of being fitted with a dental crown will inevitably be long and agonizing, but that’s thankfully not the case. Your provider knows you might be feeling anxious, and will do everything they can to help you remain relaxed and comfortable.
For instance, they’ll likely apply a local numbing agent around the affected tooth to prevent the nerves from sending pain signals to your brain. Many providers also offer one or more options for sedation to help you feel at ease.
Step #2: Cleaning
Next, your prosthodontist will need to remove any damaged, decayed, or diseased materials from your tooth. This may even include a root canal procedure, depending on your individual circumstances. Once they’ve carefully removed any injured enamel, they’ll carefully disinfect your tooth to ensure that no bacteria are left inside to cause additional harm.
If a full root canal was performed, your provider will also seal your tooth closed to prevent a repeat infection using gutta-percha.
Step #3: Shaping Enamel
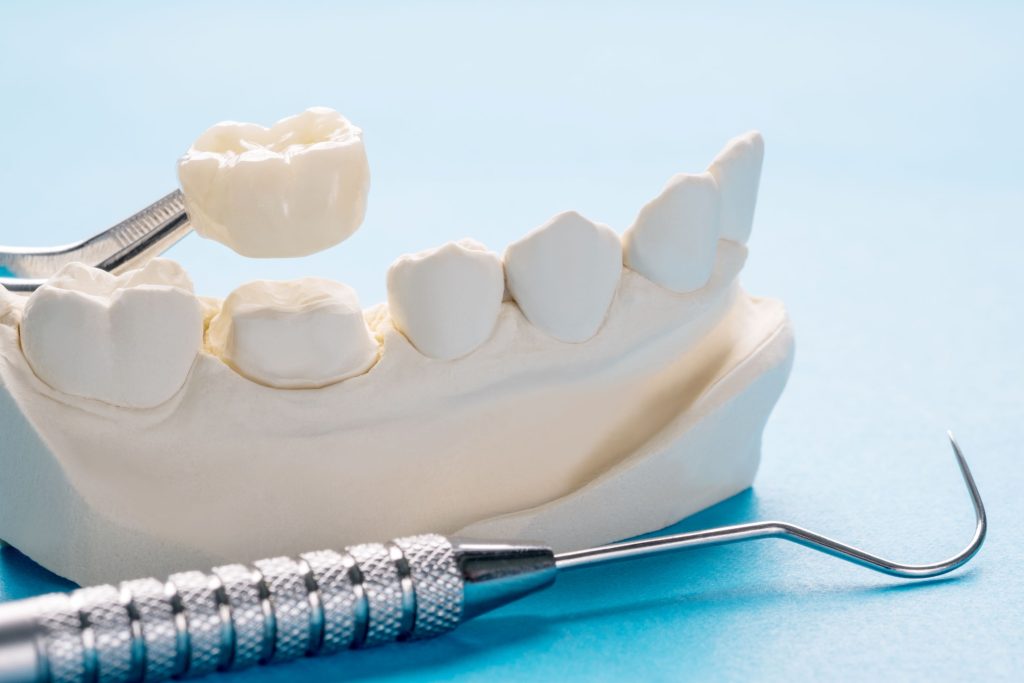
Dental crowns are tooth-shaped caps that are cemented over your troublesome tooth to restore its appearance and functionality. That means your enamel will likely need to be thinned to allow it to fit correctly without sticking out like a sore thumb. This also ensures that your upper and lower arches still touch together correctly when you bite down.
Step #4: Making Impressions
Once your tooth has been shaped properly, it’s time to make impressions of your teeth and gums that will be used to ensure your restoration fits like a glove. This involves taking different scans and images of your teeth that are sent to a special dental laboratory that uses them to design a prosthetic to your unique dimensions.
Step #5: Placing a Temporary Crown
It can take the lab a couple of weeks to deliver your finished dental crown to your provider for a final fitting, but your reshaped tooth is somewhat vulnerable to additional damage or decay in the meantime. Your dentist will likely place a temporary dental crown to protect it from harm while waiting for your customized dental work to arrive.
Once your provider receives your prosthetic, they’ll contact you for a final fitting to ensure it fits correctly and functions as intended before sending you home with a beautifully restored smile!
About the Practice
At Premier Dental, you benefit from a husband-and-wife duo of experts who are passionate about helping patients build and maintain beautiful, healthy teeth and gums. Dr. Adam Jones and his wife, Dr. Giuliana Diaz Jones, have both completed advanced training in prosthodontics to offer specialty services. Today, they collaborate to provide a comprehensive menu of top-quality services you can count on, including customized dental crowns. If you have a damaged tooth requiring attention, you can request an appointment on the website or call (772) 234-5353.